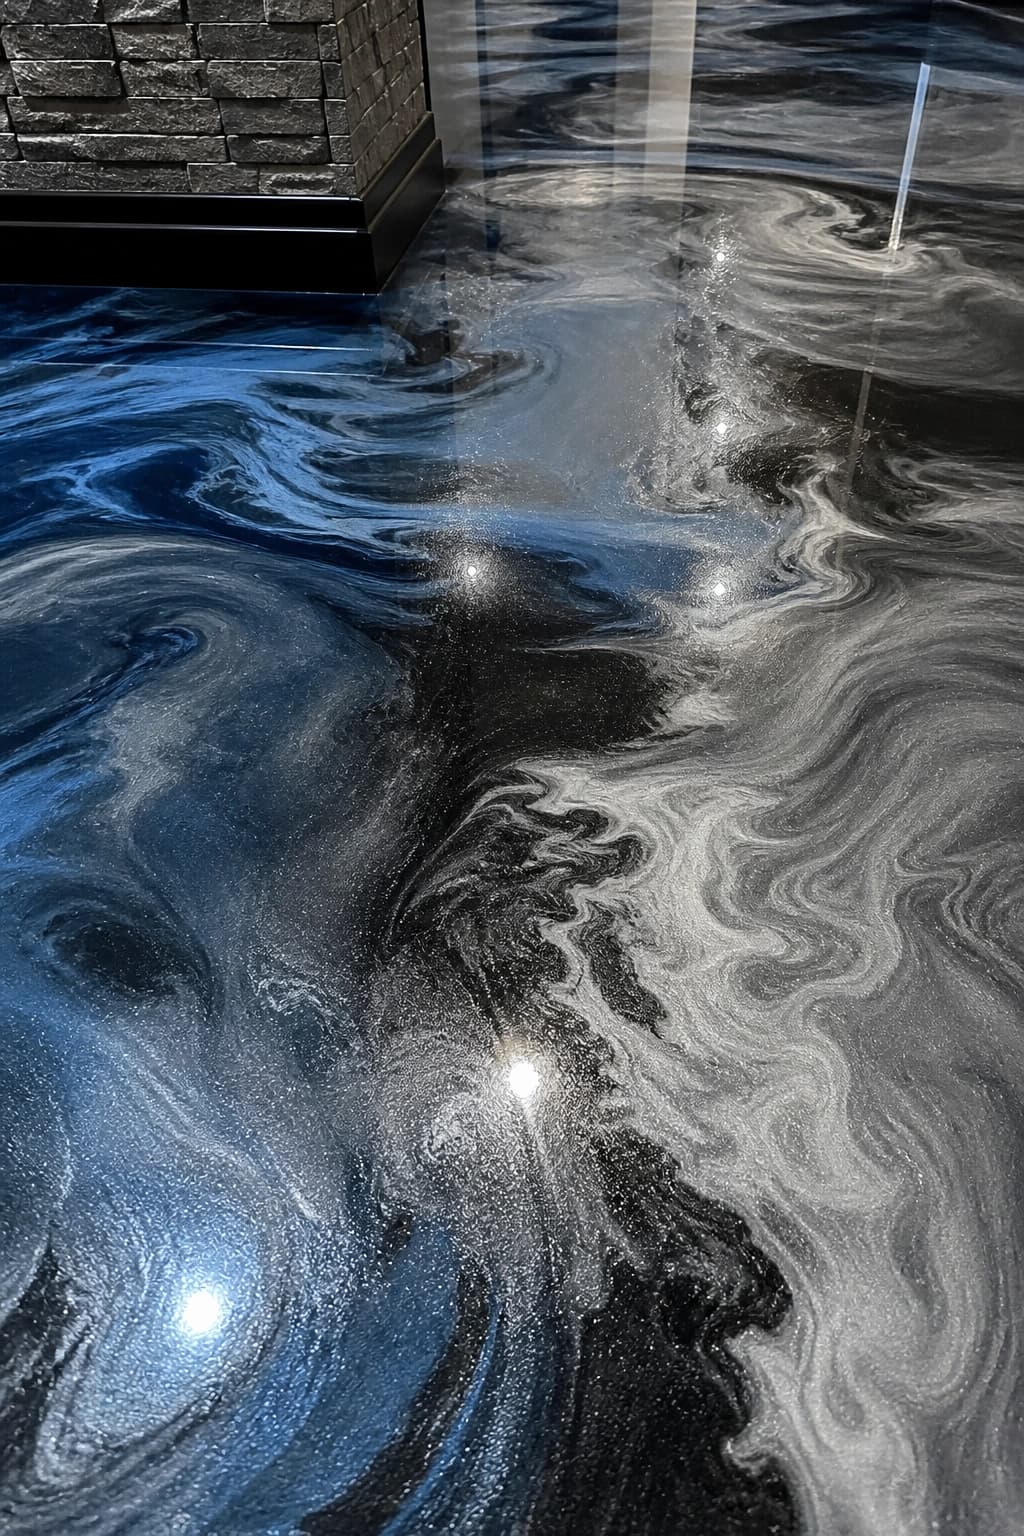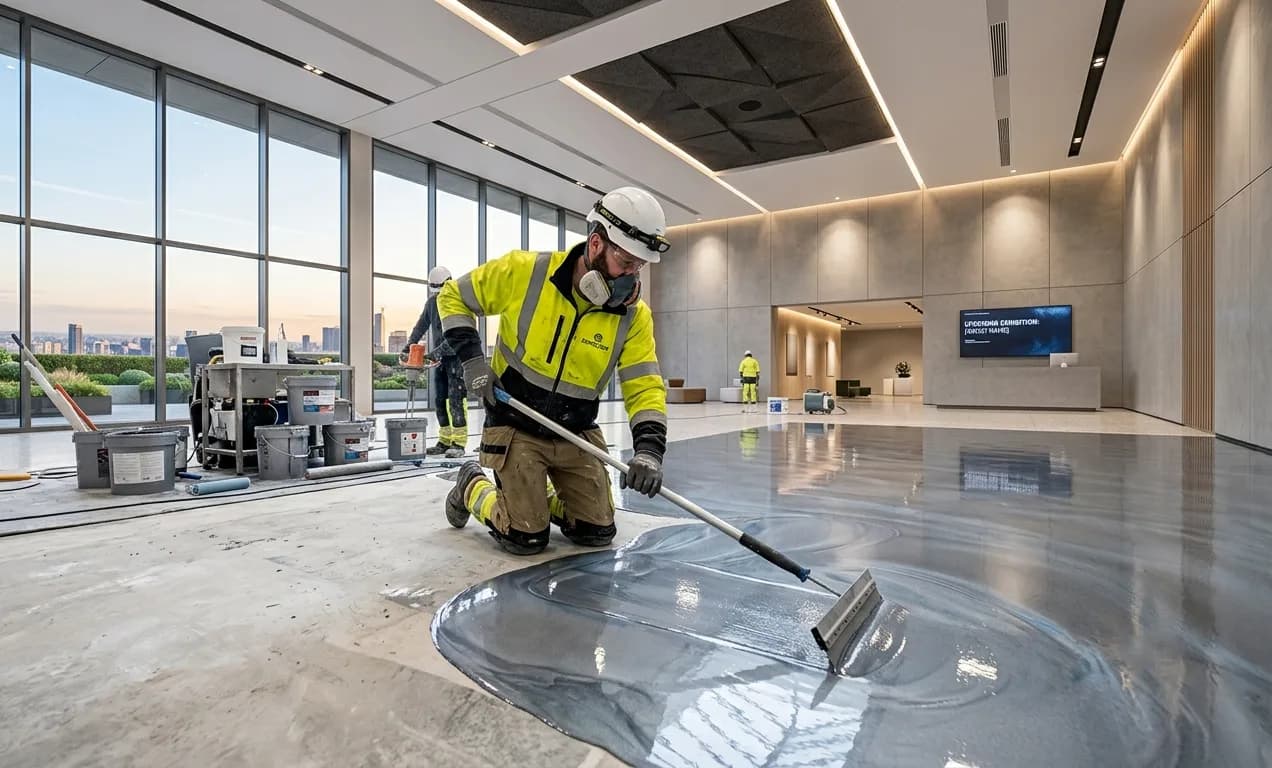
- A finished epoxy floor may look simple. The work underneath it is not.
- Epoxy installation involves much more than rolling resin onto concrete. The slab must be inspected, prepared, repaired, coated, and given enough time to cure.
- Miss one of those stages and problems can appear later. Peeling, bubbles, uneven color, and poor adhesion often begin below the visible surface.
- This guide explains how epoxy is professionally installed in homes and commercial properties, including projects in Surrey, BC.
Before opening a bucket of epoxy, the installer needs to understand the concrete.
Is the slab new or old? Are there cracks, oil stains, existing coatings, moisture concerns, or damaged sections?
These conditions determine how to prepare the floor. They may also affect which coating system is suitable.
Concrete moisture deserves particular attention. Excess moisture moving through a slab can interfere with certain coating systems and contribute to adhesion problems.
The installer should follow the moisture limits and preparation requirements specified by the chosen product manufacturer.
Step 1: Prepare the Concrete Surface
Ask an experienced installer which stage matters most; surface Preparation is usually near the top of the list.
A clean, properly prepared surface supports reliable adhesion. y Normally, sweeping and washing a floor is rarely enough for coating.
Mechanical Preparation commonly involves diamond grinding or shot blasting. The exact method depends on the slab, coating specification, and required concrete surface profile. Grinding removes weak surface material, contamination, and some existing coatings. It also creates a texture that allows the coating system to bond properly.
Then thoroughly remove the dust using appropriate extraction equipment.
Why Preparation Cannot Be Rushed
A poorly prepared floor can look perfectly acceptable at first. Problems may only become obvious after the floor enters regular service.
This is especially relevant for Surrey garages. Vehicles can bring water, road debris, and de-icing materials onto the floor during wetter and colder periods.
Good Preparation gives the coating the foundation it needs to handle those conditions.
Step 2: Repair Cracks, Pits, and Damaged Concrete
Grinding often reveals defects that were difficult to see beforehand.
Evaluate cracks, holes, spalling, and pitted areas before coating. Suitable repair materials depend on the type and extent of the damage.
A contractor may open and clean a crack before filling it. Damaged sections can also require patching and leveling.
Not every crack behaves the same way. Don't hide a moving or structural crack beneath epoxy and forget it.
The aim is to create a sound substrate, not merely a floor that looks smooth before coating.
Step 3: Apply the Specified Primer
Many professional epoxy systems use a primer over prepared concrete.
Primer can help wet the prepared substrate and establish a suitable base for subsequent layers. However, the exact primer and application method depend on the complete flooring system.
This is where an Epoxy Installation guide should never replace the manufacturer's technical data sheet. Mixing ratios, coverage rates, recoat windows, temperatures, and substrate requirements vary between products.
Once the primer is applied, it must reach the required condition before you begin the next coat.
Step 4: Mix and Apply the Epoxy
Epoxy is normally supplied as separate resin and hardener components. Combining them starts the chemical reaction that cures the material.
Installers should not estimate the ratio by eye.
Installers must measure and mix components according to the product instructions. Mixing time and technique also matter because poorly combined material can cure unevenly.
Once mixed, epoxy has a limited working period called pot life. Installers therefore prepare quantities they can apply within the product's specified working time.
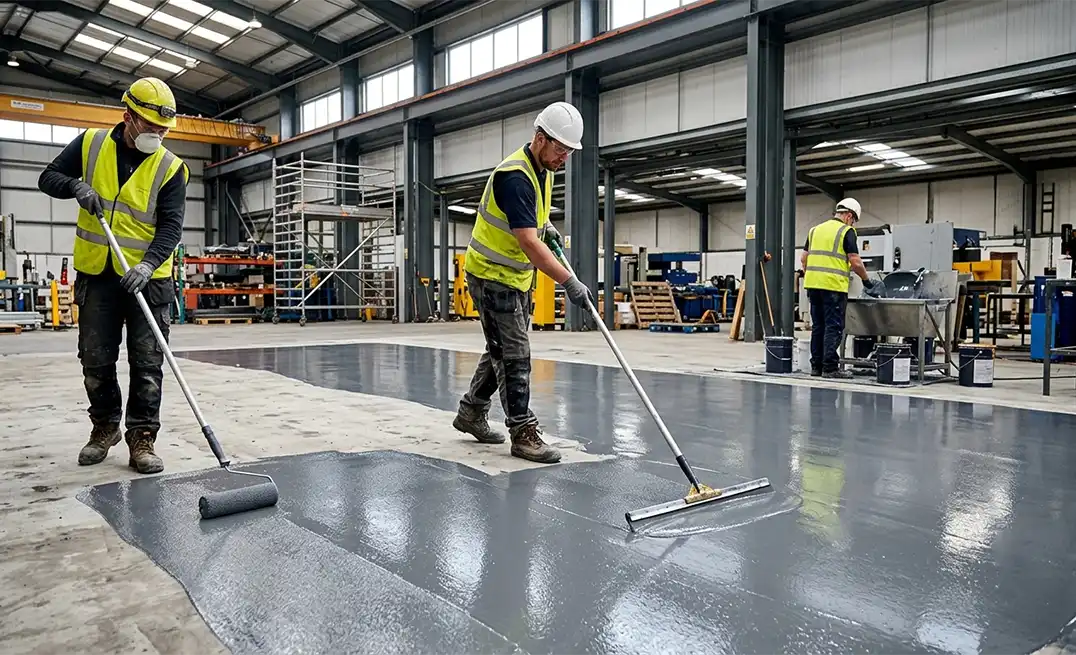
The material is then distributed across the floor at the required coverage or thickness.
Depending on the system, you may use rollers, squeegees, notched tools, or other equipment.
Step 5: Add Decorative Flakes or Other Finishes
Not every epoxy floor has to be a plain solid color.
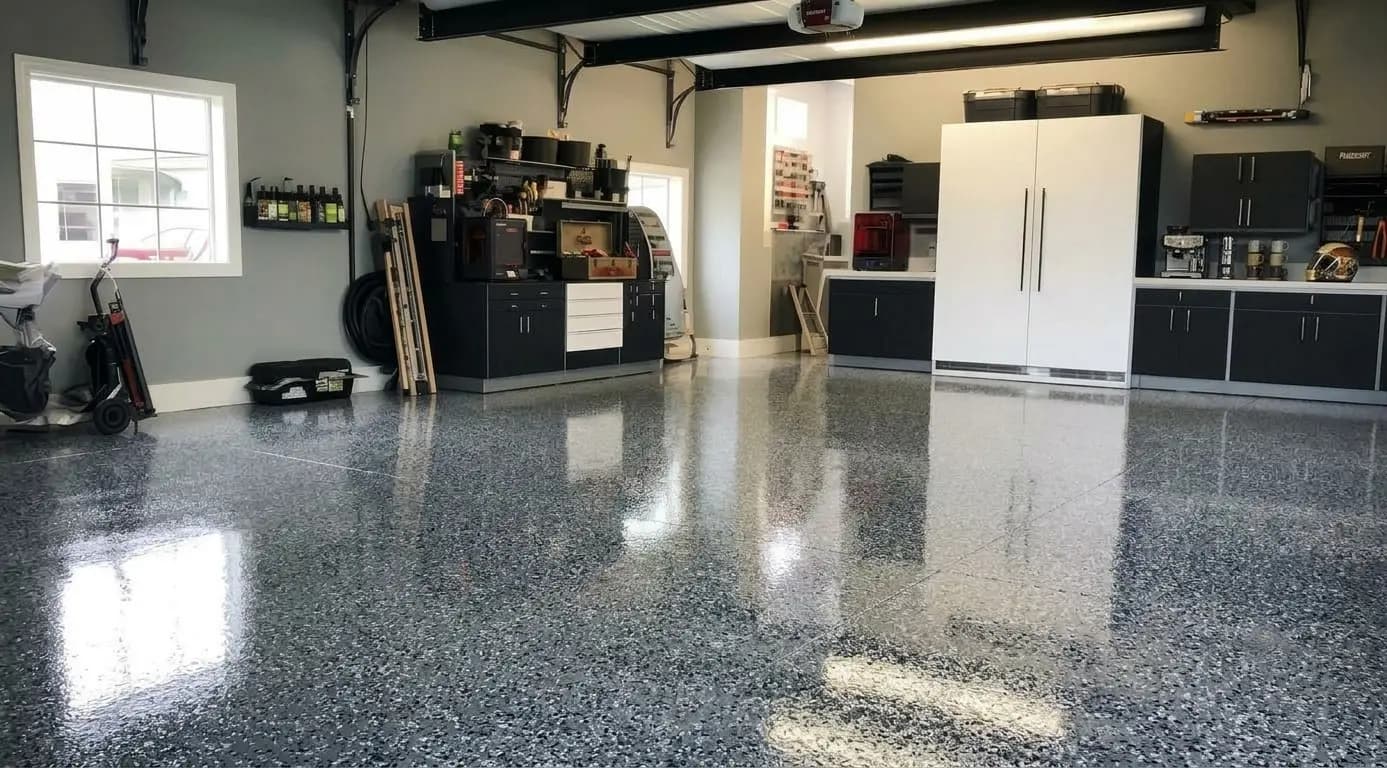
Decorative flakes are popular in garages because they add visual texture. Broadcast aggregates can also contribute texture and help create the required finish.
Commercial installations can require different finishes. Such spaces may prioritize wear resistance, cleanability, slip resistance, or chemical performance.
The coating build should therefore match how the space will actually be used.
Step 6: Apply the Protective Topcoat
The visible epoxy layer is not necessarily the final layer.
Many flooring systems use a compatible topcoat to provide the required finish and additional protection. Depending on the specification, the finish coat may be epoxy, polyurethane, polyaspartic, or another compatible technology.
The best choice depends on abrasion, chemicals, UV exposure, traffic, and desired appearance.
You may also incorporate slip-resistant aggregate where you need extra traction. For commercial properties, base this decision on the operating environment, rather than appearance alone.
Step 7: Let the Epoxy Floor Cure Properly
One of the most common questions about installing epoxy concerns curing time.
There is no reliable universal answer such as "wait exactly 24 hours."
Epoxy products have different cure schedules. Temperature, substrate conditions, humidity, coating thickness, and formulation can affect when the floor is ready for use.
A surface may feel dry before it is ready for vehicle or equipment traffic.
The product data sheet should determine when people can walk on the floor and when vehicles, machinery, shelving, or other loads can return.
Cool conditions can extend curing times. That makes temperature control particularly relevant for installations in unheated BC garages during colder weather.
DIY vs Professional Epoxy Installation
DIY epoxy kits can work for appropriate projects, but homeowners should understand where the difficulty lies.
Rolling the coating is only one part of the job. Assessing concrete, controlling dust, mechanically profiling the slab, repairing damage, managing moisture concerns, and staying within product working times require more planning.
Common Epoxy Installation Mistakes
Some avoidable errors can lead to coating problems later.
- Applying epoxy over poorly prepared concrete
- Ignoring moisture conditions
- Coating over cracks without assessing them
- Mixing resin and hardener incorrectly
- Exceeding the product's working time
- Allowing traffic before sufficient curing
- Choosing a coating system unsuitable for the space
The lesson is straightforward: epoxy performance depends on the entire system and installation process, not simply the product in the bucket.
What Should a Good Epoxy Installation Look Like?
A professionally completed floor should have consistent coverage and a finish appropriate for its intended use.
Edges, corners, repaired areas, joints, and transitions deserve the same attention as the room's center.
More importantly, the coating should be properly bonded to a sound substrate.
That quality starts during Preparation, long before anyone sees the finished floor.
The Epoxy Installation Process Is Built From the Ground Up
The epoxy installation process succeeds or fails largely on what happens before and between the visible coating layers.
Proper concrete assessment, mechanical Preparation, repairs, correct mixing, appropriate coating selection, and sufficient curing all contribute to the final result.
For Surrey homeowners and businesses, understanding these stages also makes it easier to compare contractors. Ask how the concrete will be prepared, how moisture concerns will be addressed, which coating system will be used, and when the finished floor can safely return to service.
If you are planning a garage, basement, retail, warehouse, or commercial flooring project, getting the slab assessed first can help determine the right system for the space.
QUESTIONS
Frequently Asked Questions.
Yes, but after assessing and properly addressing existing coatings, contamination, cracks, surface damage, and moisture conditions.